Customizing Content Layout
Adding view panes
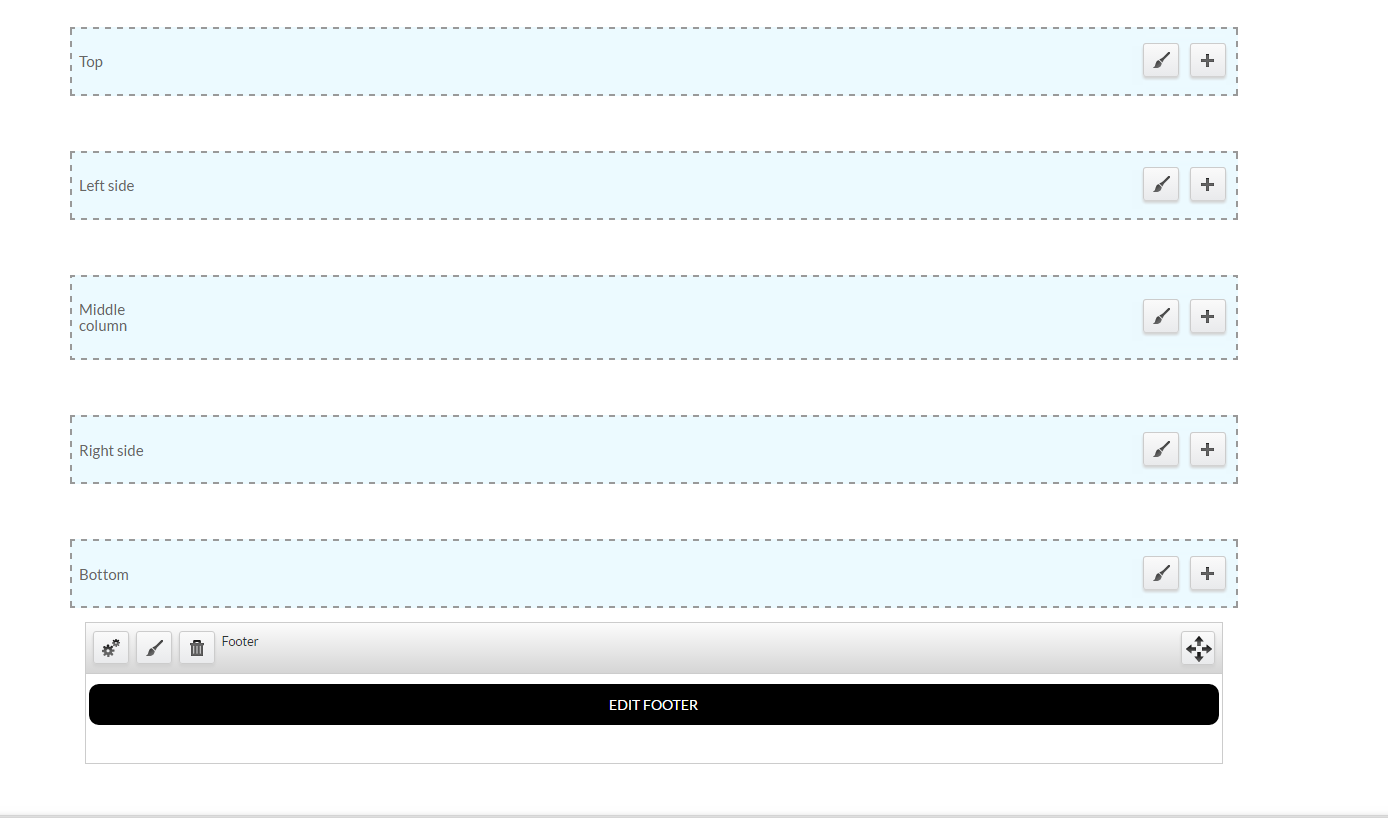
In order to customize the way a page appears, select the
Customize this pageoption that appears at the bottom of your screen. Please note: Only Site Managers have access to this option.
Select the preferred side/column where you would like a "view pane" to be visible, then select
+.
- There are several content options listed that can be added to the page:
- Menus - includes any menus that you created or are present by default.
- Mini Panels - includes footer and other mini panels created by you.
- View Panes - includes the different formats the content types can appear in. The most commonly used are the Teaser Lists.
- New Custom Content - includes adding any customized content that will suit your needs.

Configure a view pane
Each view pane permits content creators to configure the view panes in many ways:
Override the title:
- If you would like to add a title to your view pane, select
Override Title. - Select
Finish. - Select the Settings option on the view pane and then type in your customized title.
- Then, Select
Finishagain.


Adding a "More" Button:
- Select the
Provide a "more" linkoption. - Type in some descriptive "more" text that indicates where the link is going (ex. More Features).
- Select
Finish.

Categorizing view panes:
Taxonomy is used to categorize content so it is visible in desired locations. If you would like to categorize your view pane by using taxonomy:
- Ensure the content type has a category.
- Note down the term number that the category is associated with. The term number is located in the url on your screen (ex. https://.../term/109/...).
- Add the term number to the
Categoryspace, when configuring your view pane. - Select
Finish.

Always save the page when you are done customizing.